ice climbing

D.I.Y.- Which Product will get the BOOT?

April 12, 2015

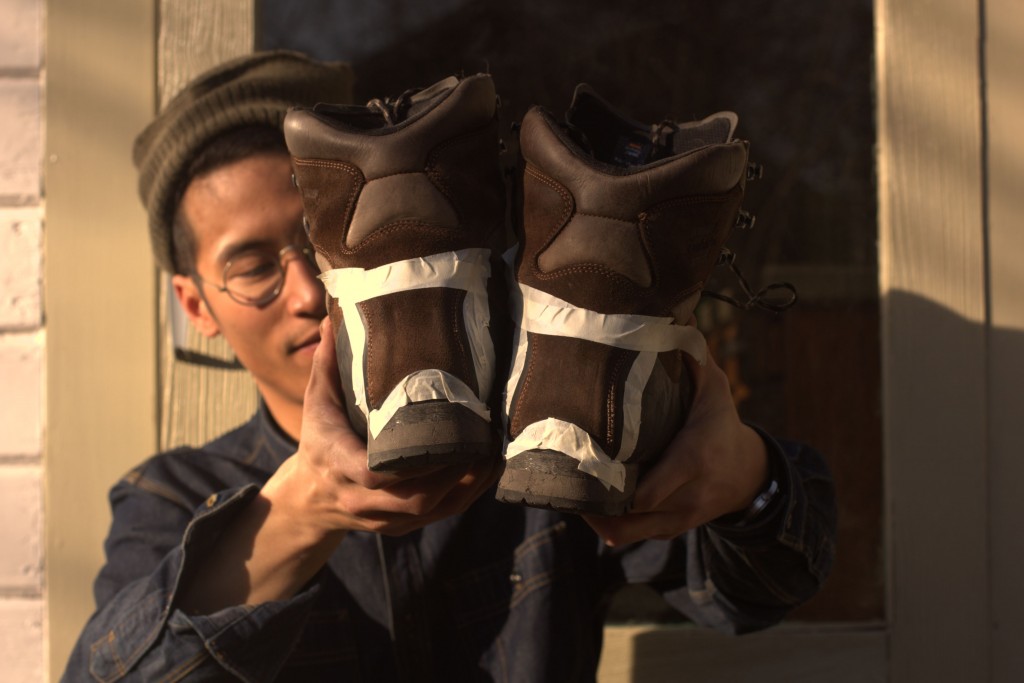
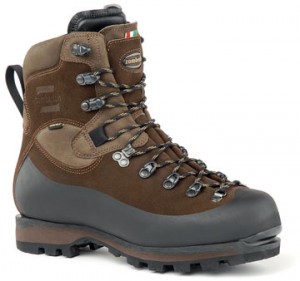
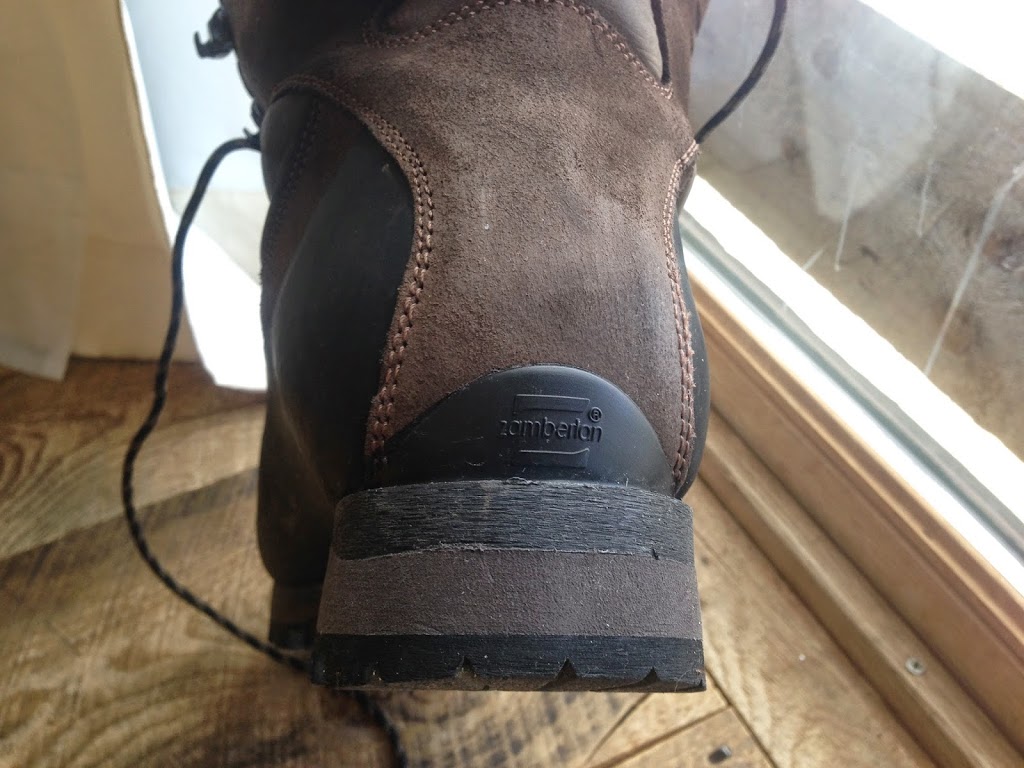
In a previous review of my Zamberlan Expert IBEX alpine bootsI mentioned that one of the potential weaknesses of this boot was the stitching in the back of the heel. After one year of alpine climbing, the motion of heel plunging into the snow has worn on this particular area as I expected.

I’ve had previous boots that have gotten so worn that the back strap part of the boot actually de-stitched and is starting to flap off. I’ll talk more about that in a future post though.

Two products, one on each boot

I don’t want this fate to befall my nice alpine boots, so my plan is to proactively strengthen this area. I have used Shoe Goo and Barge contact cement in the past with limited to low success, because it always peels off and fails to adhere especially in wet environments.

This time I will be trying two products I have never used before and testing them head to head.

products

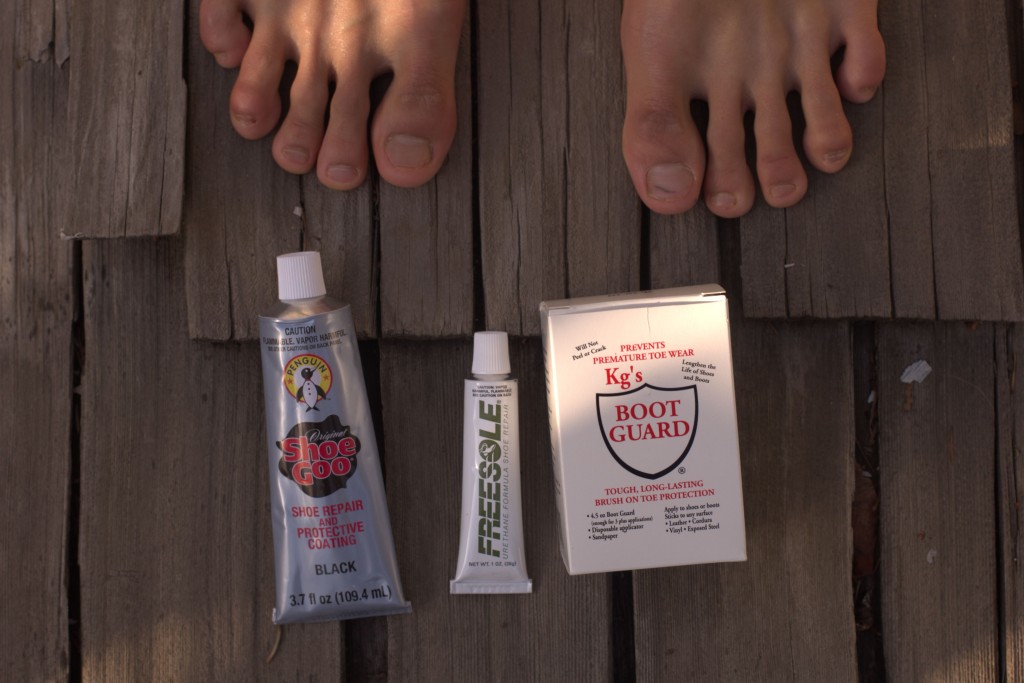
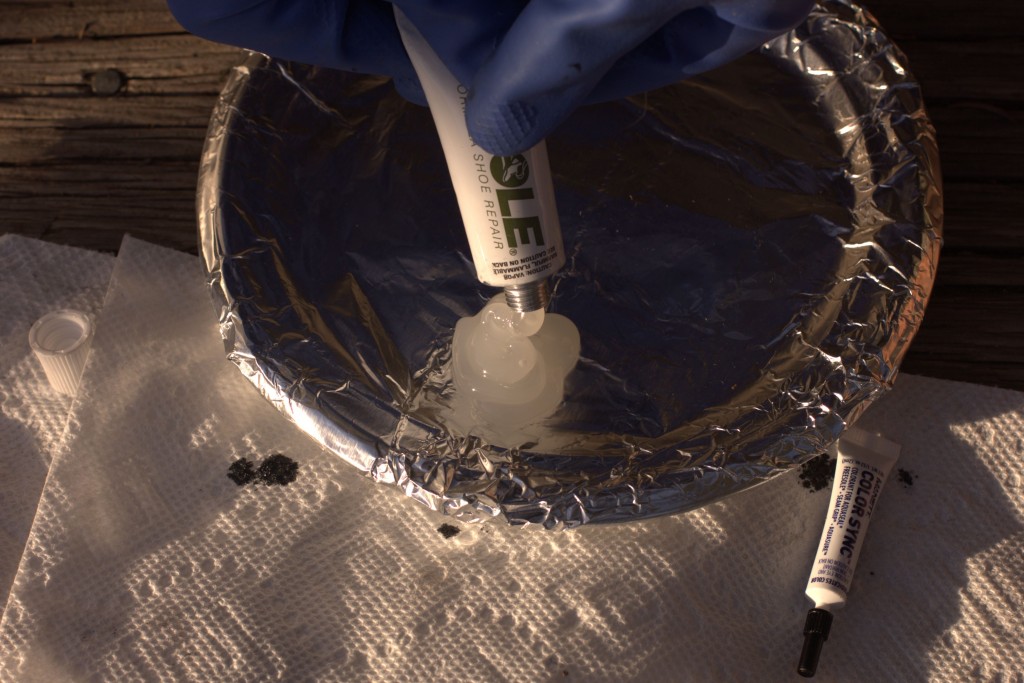
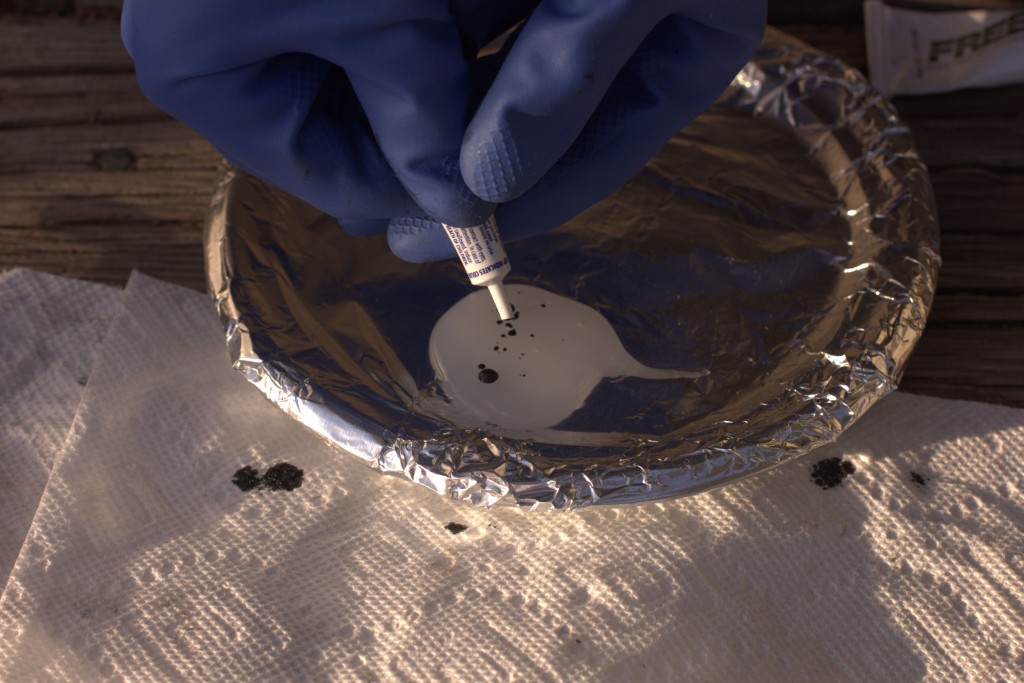
On one boot I’ll apply Freesole (middle) by GearAid, which is a similar product in its appearance to Shoe Goo (left), but it is supposedly much improved. Shoe Goo is shown but was not used because of prior failures.

On the other boot I”ll apply Kg’s Boot Guard (right) which I recently saw in a Ranch and Home store. I have never heard of it before this week, but there was a demo shoe with this product applied. The product seemed flexible and strongly adhered to the leather.  The product was oddly lumpy which I learned later are Kevlar chunks that help provide extra strength.

Prepping

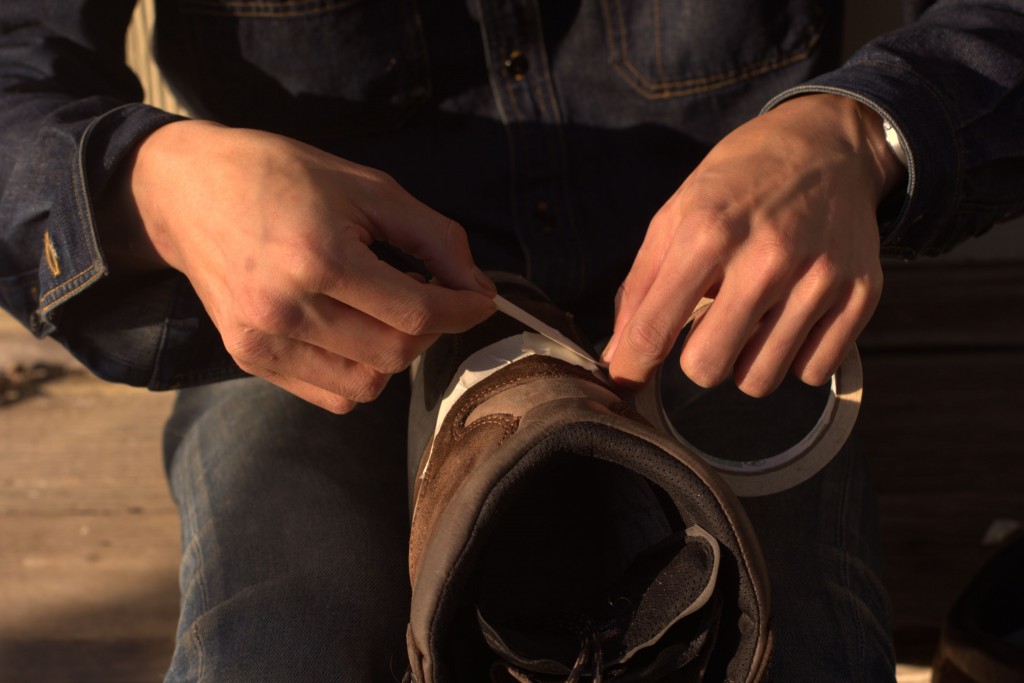
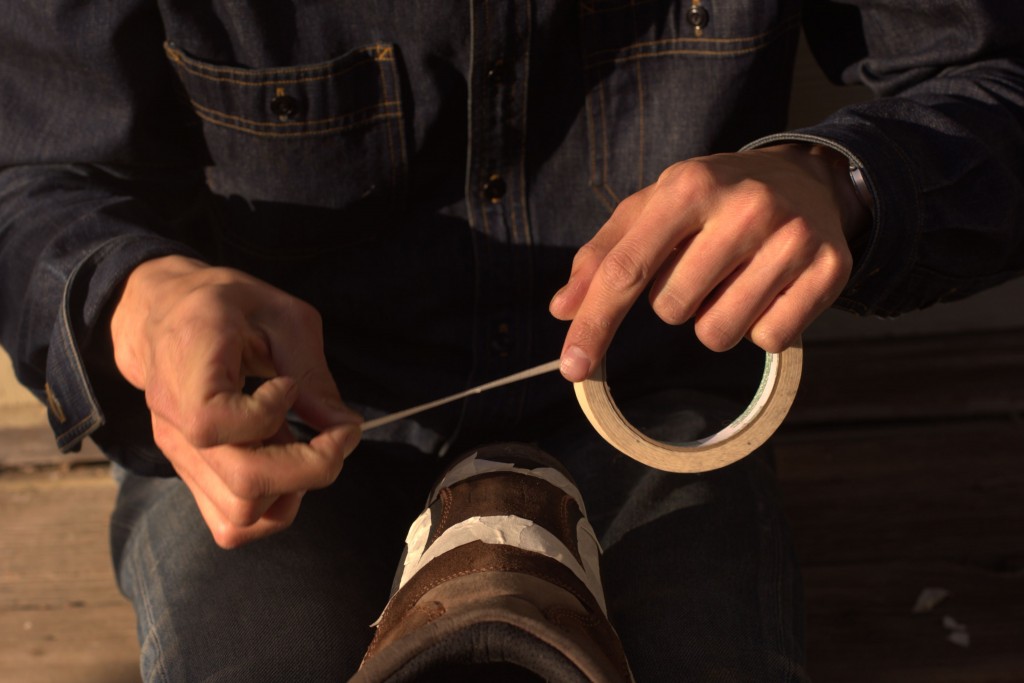
Before applying, I prep the area with rubbing alcohol and throughly scrub the heels with a brush to help clean the waterproofing and dirt off the leather for a good bond. Once dry, I set the boundaries with tape to keep the job clean.

tape1_MG_6438tape2

Applying Kg’s Bootguard

Kg’s boot guard comes in a little jar, and mentions it has Kevlar chunks in it. It smells strongly of solvents like a new can of spray paint. It came with a piece of sand paper to roughen the surfaces and a dauber to help apply. The product must be stirred for a minute before painting on.

kg

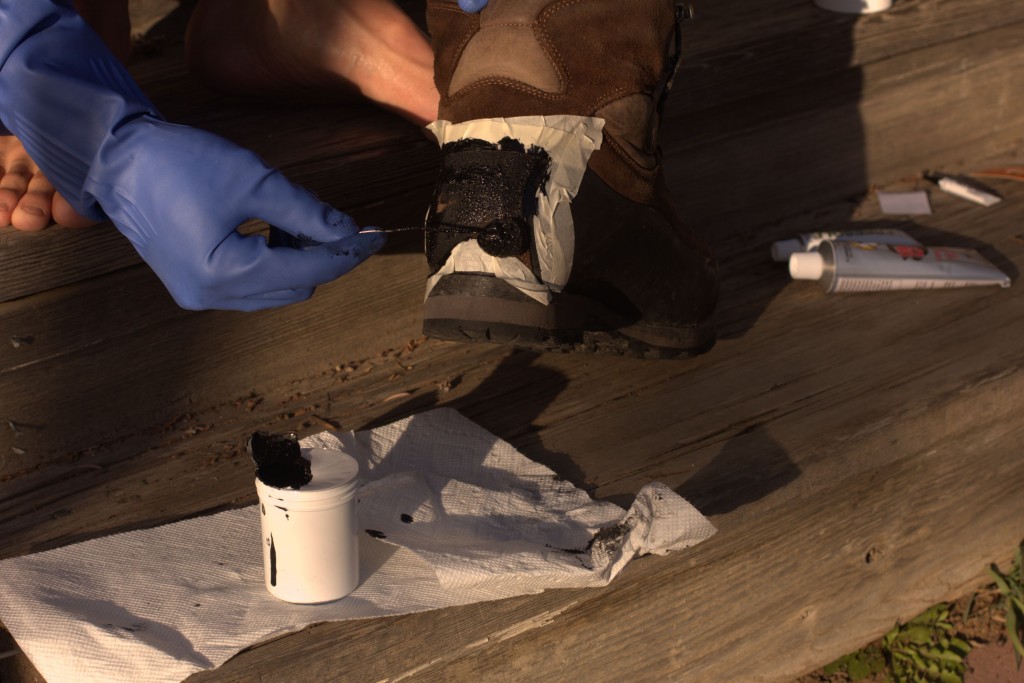
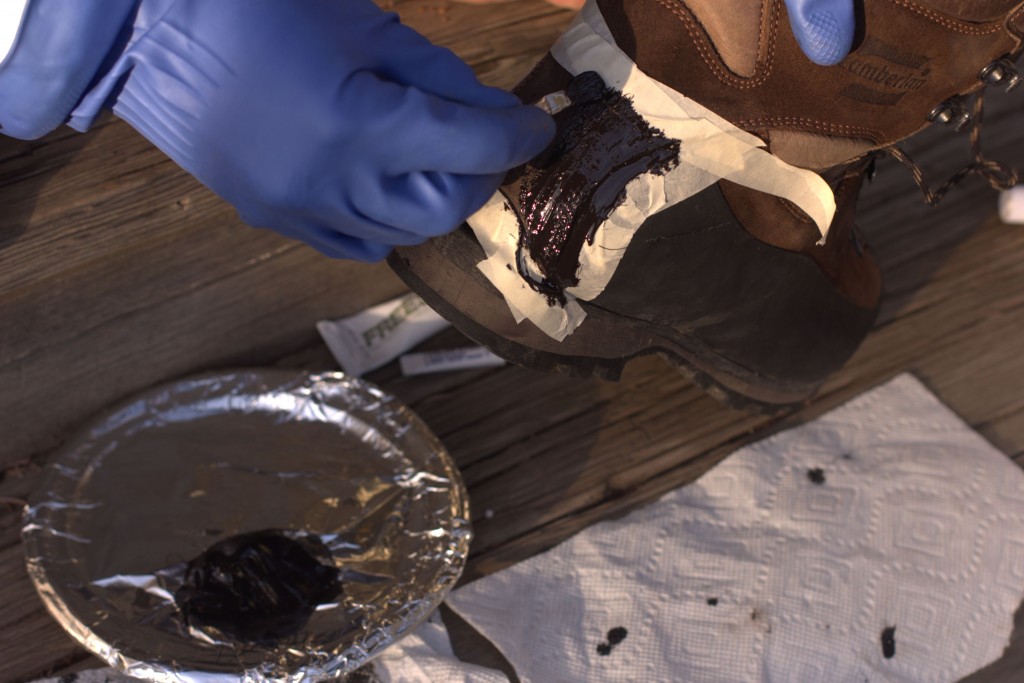
Kg’s product is RUNNY, with a consistency more like a liquid than a gel. I painted on too much and it ran into other parts and left a dark stain. Be extra CAREFUL when painting on this product!

_MG_6459

Applying Freesole

The Freesole is very pasty and gummy like Shoegoo. I added 8-10 drops of colorant in the separate tube and mixed them together to get it to turn black. Next I painted the area of my boot with the little paint brush that came with the product.

freesole1freesole2

_MG_6467_MG_6469

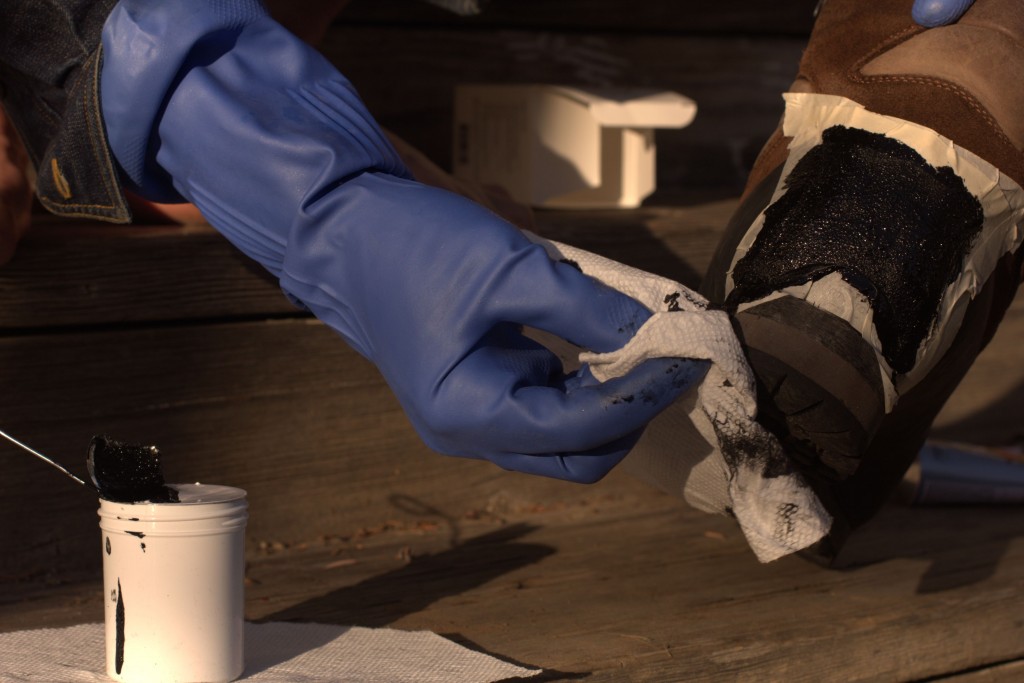
After 2 hours, I pulled the tape off and was pleased to find a clean, stenciled outline of the product.

Next, I left both boots to cure over night.

Results

_MG_6478 _MG_6476

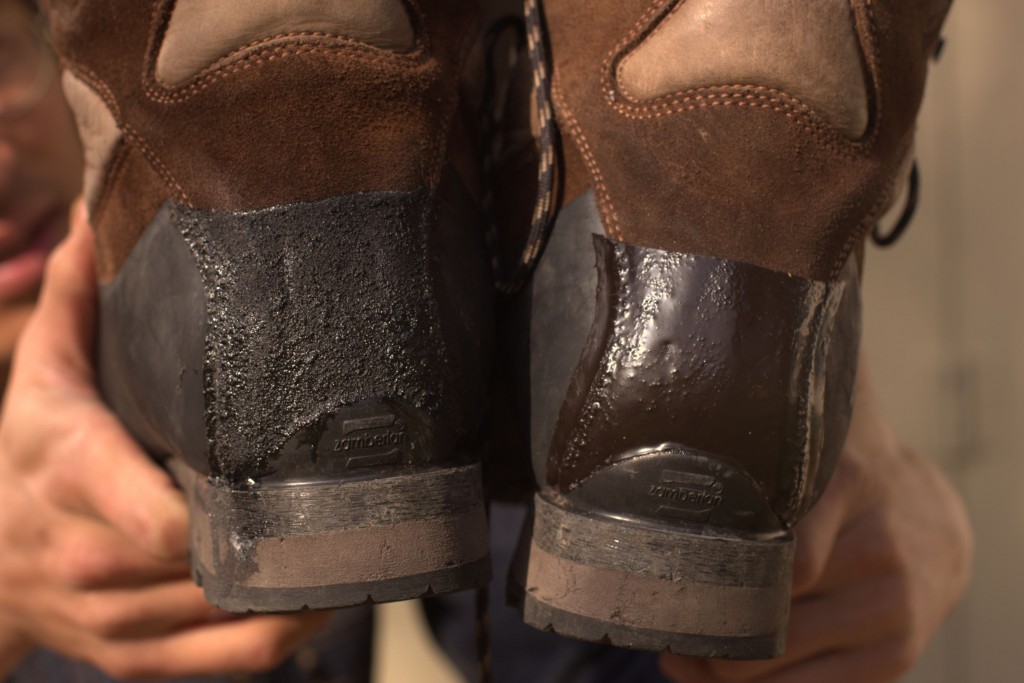
Kg’s Boot Guard (left), Freesole (Right)

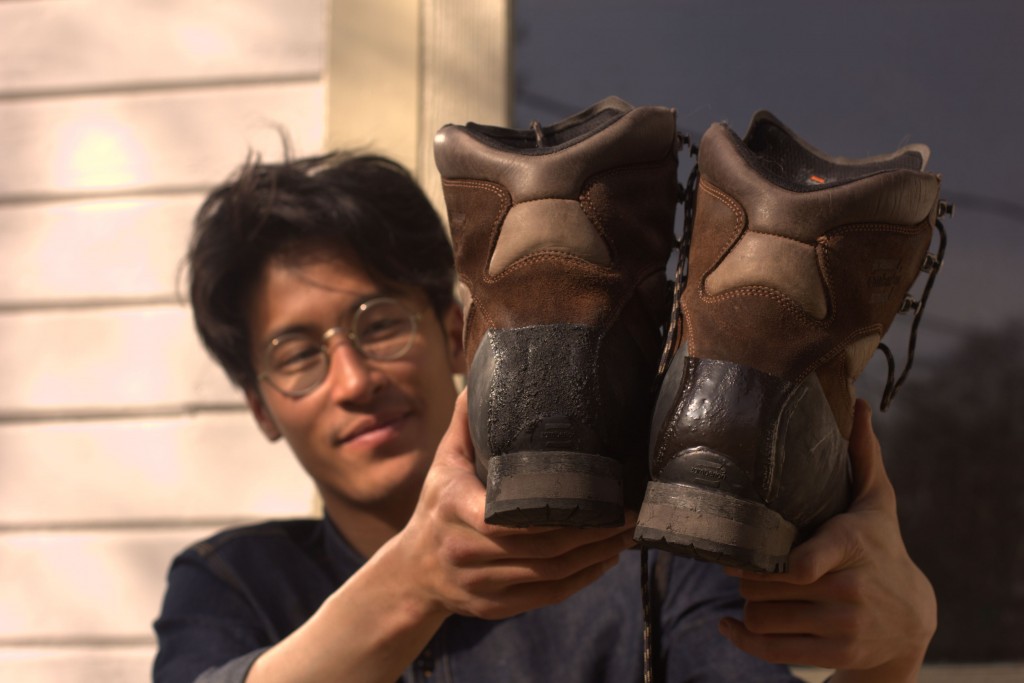
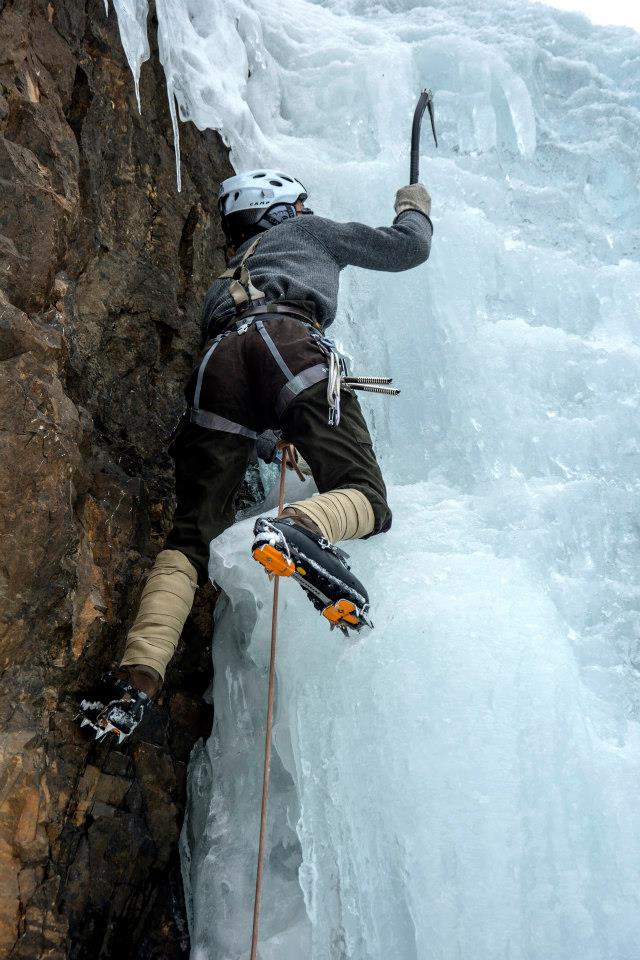
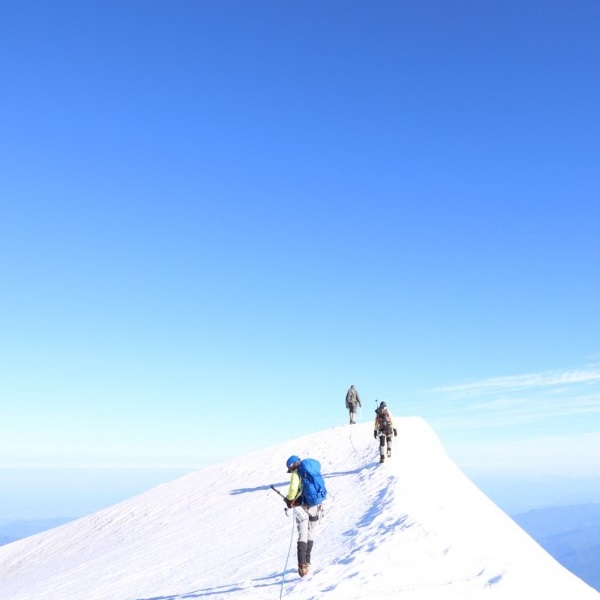
Let’s see how these two products hold up to rigorous alpine climbing this spring and summer. I’ll keep you updated.

Climbing boot part 3

May 5, 2014


Getting on Ice with the Zamberlan Expert Ibex GTX RR
 
The name and model number are a bit of a mouthful. I had been ordering in these mountain hunting boots one at a time, due to cost, and the Ibex was chosen last. I own Meindl and Kenetrek goods of other models and going to a new brand is a bit of a leap out of the ordinary for me.
The Ibex is marketed like the previous two boots as a mountain hunting boot, what makes it different is that is design is just a modification of a normal climbing boot rather than a ground up hunting boot. They just seemingly had a color and shank swap between models, and that is precisely why I chose the Ibex over the Pro, to try out.
Expert Ibex
Expert Pro

A shank is the piece of metal that rest under the arch of the foot. Often times in mountain boots it will extend to the toe to increase the stiffness as mentioned before. The PRO model has a “Duraflex” shank, while the IBEX has the “Pluriflex”, whatever that marketing lingo means.

The Ibex boast a one piece lower, but its made of Perwanger silicone suede. Treated or not, I don’t prefer the material over good full grain. It has the obligatory Goretex, and the Goretex brand Duratherm insulation similar in overall construction to the previously mentioned La Sportiva Nepal Evo, a very standard mountain boot.

Shank and Stiffness

The same two test are conducted. Arm strength however unlike the previous two boots is unable to budge the boot sole into flexing at all. Putting the boot on and standing on an edge, body weight can get a small amount of flex out. Now we are talking, that is a SHANK!

Crampons3_2012413144214
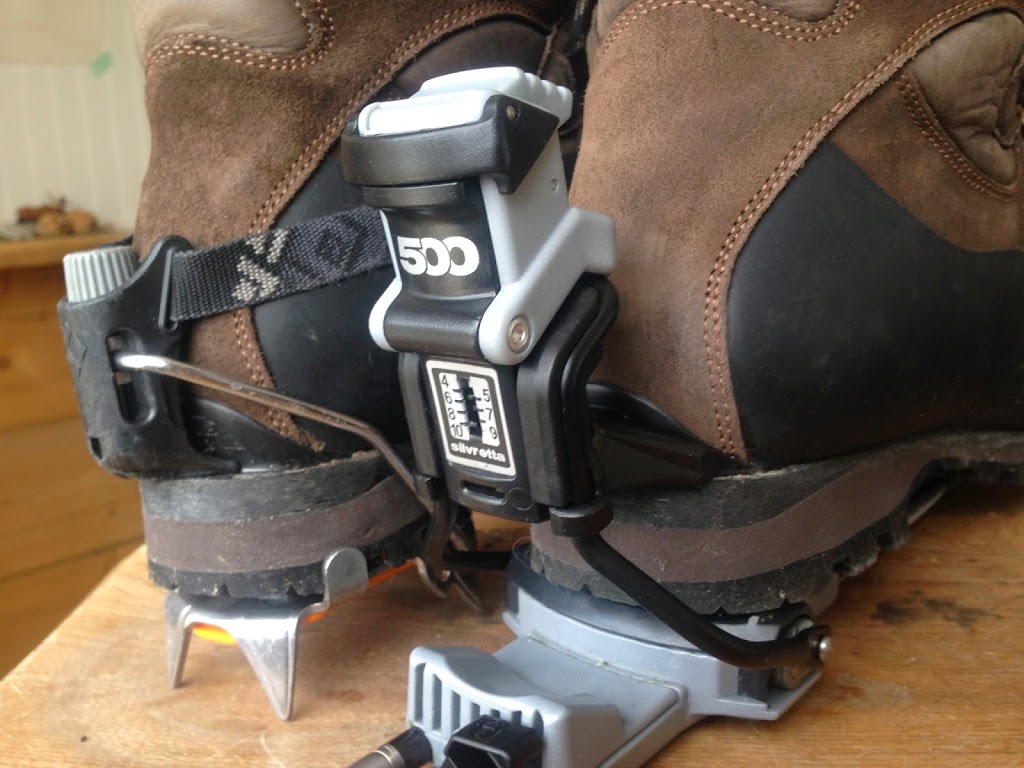
Nepal Evo Flex under 80kg from Black Diamonds crampon tests’
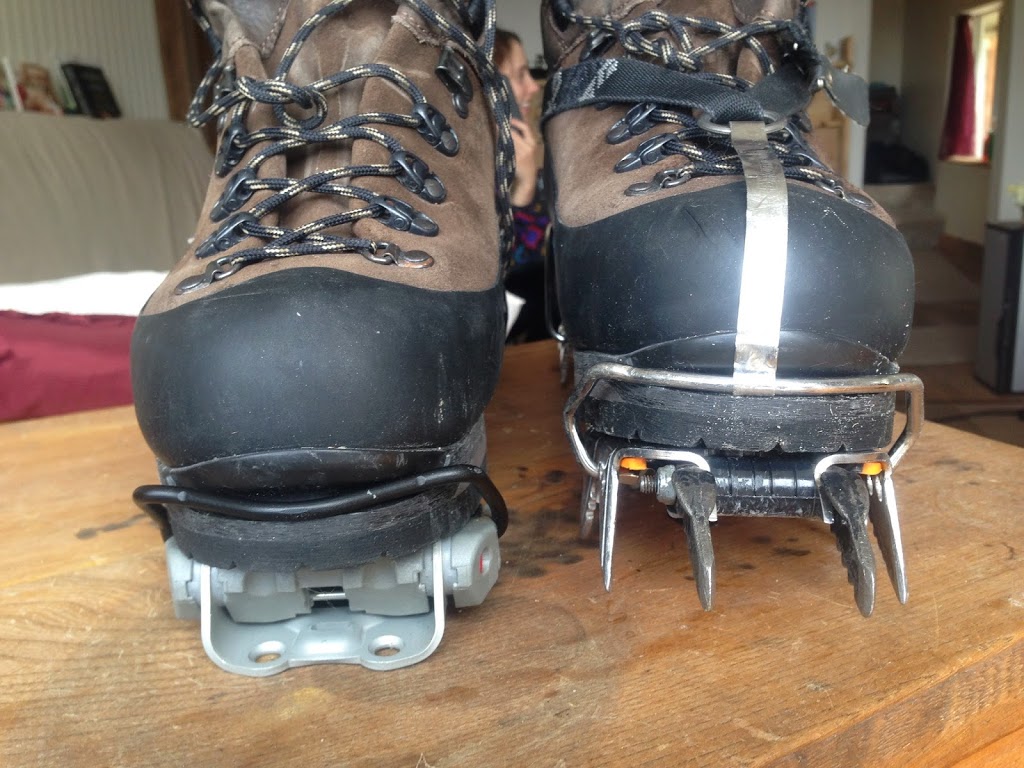


I went over to a fellow climber’s house and he happens to posses a pair of Nepal EVO’s and I got to handle the two side by side. Even with body weight I can hardly get any flex out of the EVOs at all. It is most certainly a stiffer more technical boot, but I think I’ll shell the money and stay with the IBEX because I’m tired of trying out brown boots, at-least it would be better on a longer march over rocks and earth.

Crampon and Ski binding fit


Excellent on all fronts with my current gear. No side to side slip when torqued and pushed.


Field Test

Leading on WI 3- 4, Top roping on WI5!

1975034_10154019107840171_43355307_n
The Fang WI5 at Vail. Didn’t actually climb up the fang.

Like rock climbing ice has its own classifications of difficulty. WI means Water Ice, usually waterfalls. The falls shown at Chalk Creek near Leadville and up in Vail, CO. WI 3 and 4 indicate steepness, nearing vertical, WI5 indicates a ice feature that is exactly around 90* or even slightly overhanging,

1480688_10202872530028607_1014611592_n
Ice climbing: buttes and bulges
10177523_10202872528548570_1385002507_n
Ice screws are placed into the ice to protect against a fall.
1533724_10202872528628572_1741927414_n
A good end to a day!
Night climb. Temps around 15* feet stayed warm. Was starting to get cold on belay.
Cons

As of the writing the water proofing is starting to wear off the surface after a dozen day uses, I will probably have to spray them down with silicone as the instructions suggest no oil or wax. Wish they were full grain I could just use the bees wax I normally do.

On top of that, this lace eyelet of the boot should be a metal hook, not some crappy piece of webbing. It makes it impossible really goddamned hard to tie this boot up with gloves on. Huge design flaw in cold weather.

The final major problem I’m noticing is that the back of the boot is not covered by the huge rubber rand like it was for the other boots reviewed. It is an exposed piece of leather with pretty weak stitching. Post holing a few miles the dozen times its been used I’m already noticing some abrasion on the stitching from the ice and snow. A coat of Shoegoo black may be needed in the future.

Conclusion
UPDATE: Please check out the newer post on Mt Baker too see how this boat does on milder glaciated terrain with crampons!
I could probably juice out more performance on ice with a stiffer boot, but even than, this is the stiffest boot I have yet owned, and time will tell how this boot last.

Gif taken from Black Diamonds very informative study on crampon durability.
http://blackdiamondequipment.com/en/qc-lab-gear-doesnt-last-forever–crampons.html

Read more of our favorites


Naked and Afraid:
A Prelude

Mapping Out New
Adventures in 2016

Climbing to New Career Goals

Hunger Games
 

Camp Blades- A CUT Above the Rest


All rights reserved © We Do It Outside · Theme by Blogmilk + Coded by Brandi Bernoskie