boots

D.I.Y.- Which Product will get the BOOT?

April 12, 2015

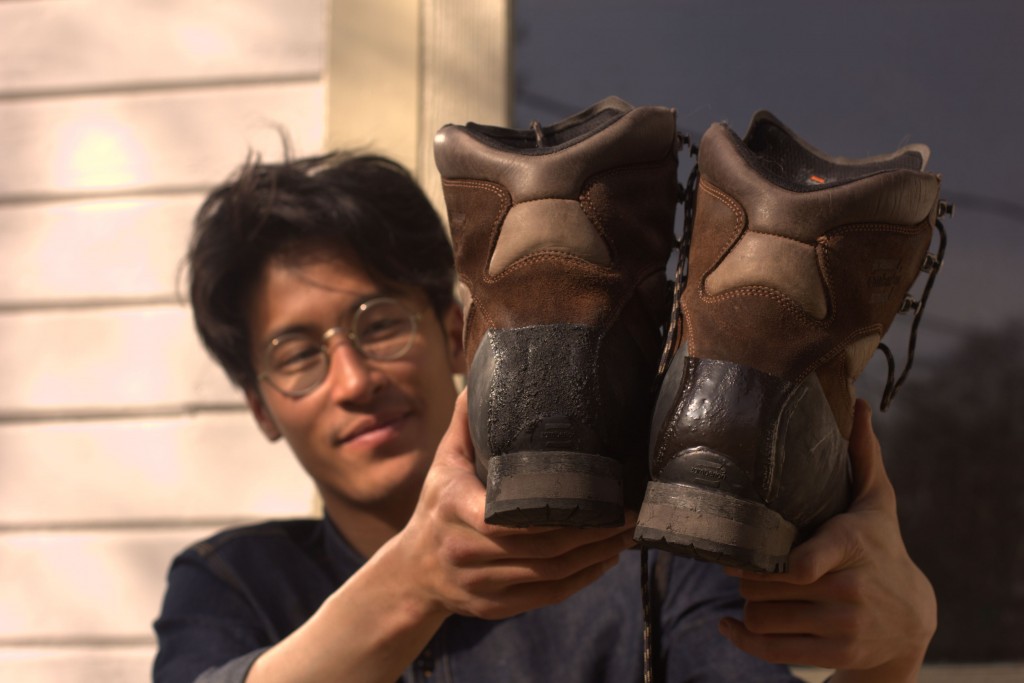
In a previous review of my Zamberlan Expert IBEX alpine bootsI mentioned that one of the potential weaknesses of this boot was the stitching in the back of the heel. After one year of alpine climbing, the motion of heel plunging into the snow has worn on this particular area as I expected.

I’ve had previous boots that have gotten so worn that the back strap part of the boot actually de-stitched and is starting to flap off. I’ll talk more about that in a future post though.

Two products, one on each boot

I don’t want this fate to befall my nice alpine boots, so my plan is to proactively strengthen this area. I have used Shoe Goo and Barge contact cement in the past with limited to low success, because it always peels off and fails to adhere especially in wet environments.

This time I will be trying two products I have never used before and testing them head to head.
products

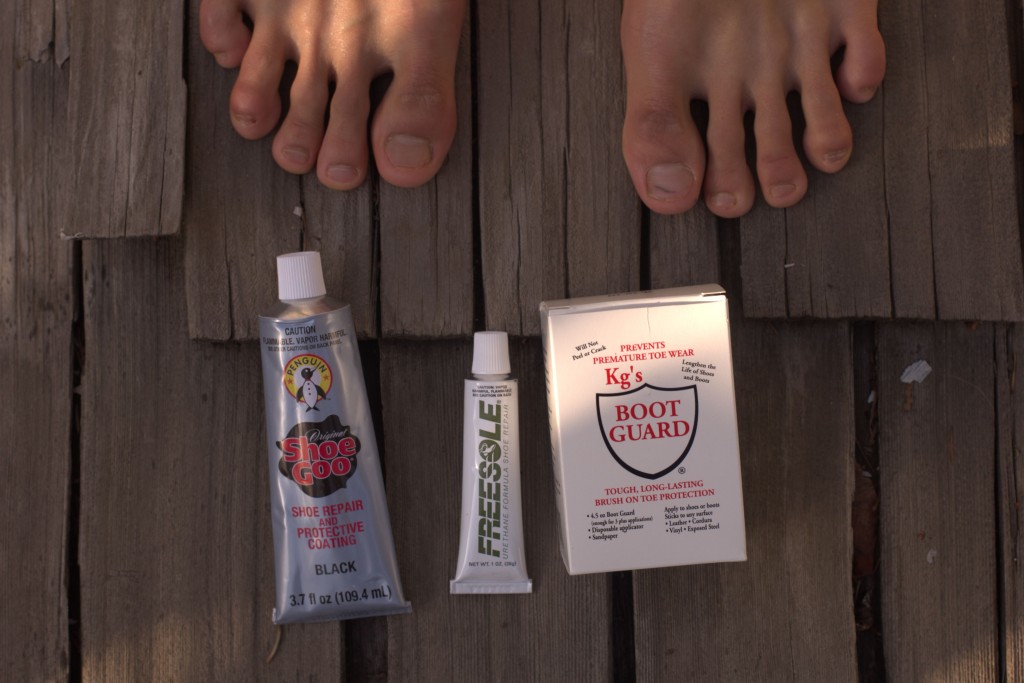
On one boot I’ll apply Freesole (middle) by GearAid, which is a similar product in its appearance to Shoe Goo (left), but it is supposedly much improved. Shoe Goo is shown but was not used because of prior failures.

On the other boot I”ll apply Kg’s Boot Guard (right) which I recently saw in a Ranch and Home store. I have never heard of it before this week, but there was a demo shoe with this product applied. The product seemed flexible and strongly adhered to the leather.  The product was oddly lumpy which I learned later are Kevlar chunks that help provide extra strength.

Prepping

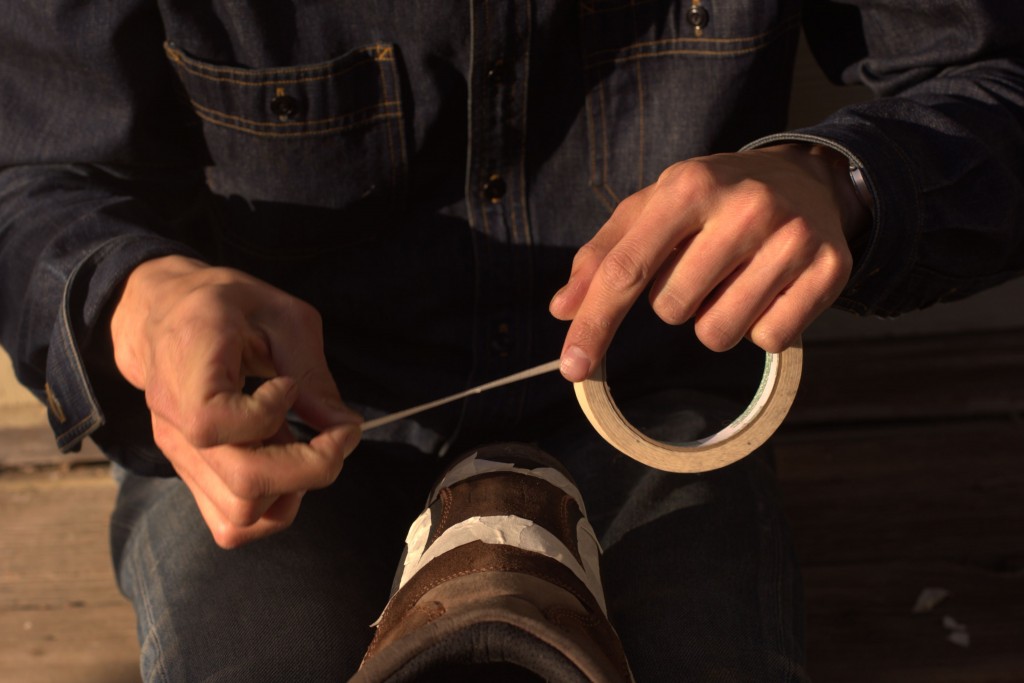
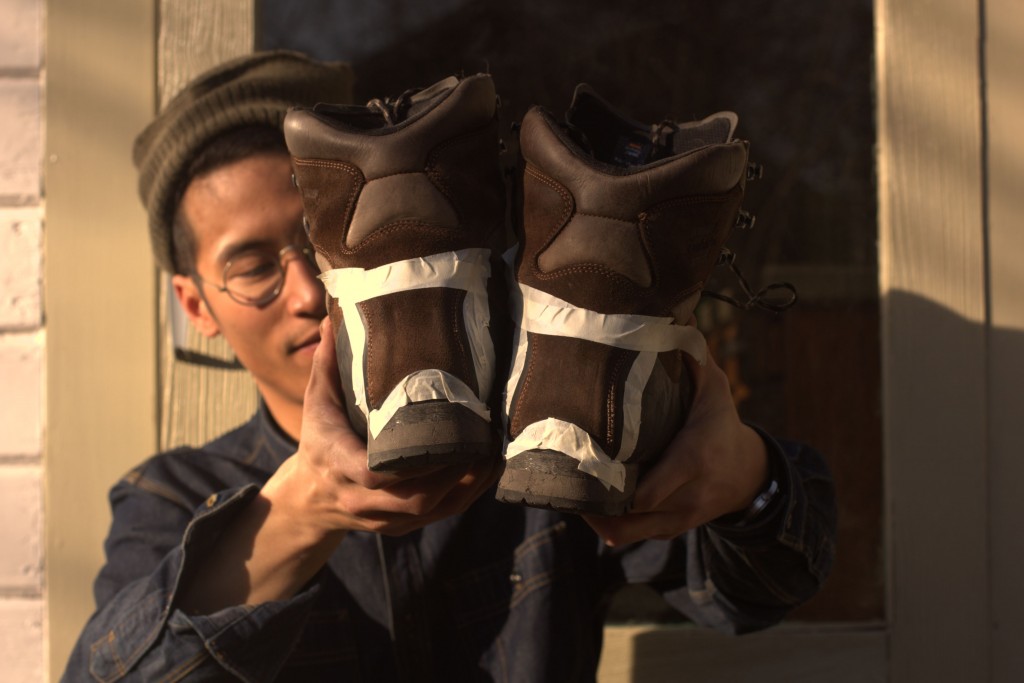
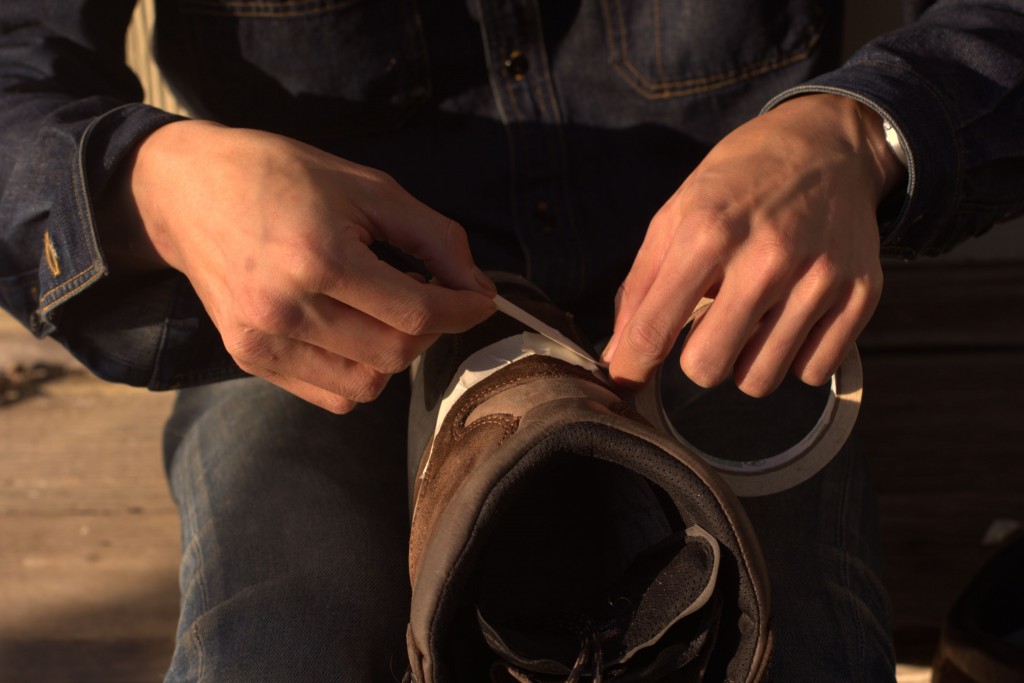
Before applying, I prep the area with rubbing alcohol and throughly scrub the heels with a brush to help clean the waterproofing and dirt off the leather for a good bond. Once dry, I set the boundaries with tape to keep the job clean.
tape1_MG_6438tape2

Applying Kg’s Bootguard

Kg’s boot guard comes in a little jar, and mentions it has Kevlar chunks in it. It smells strongly of solvents like a new can of spray paint. It came with a piece of sand paper to roughen the surfaces and a dauber to help apply. The product must be stirred for a minute before painting on.
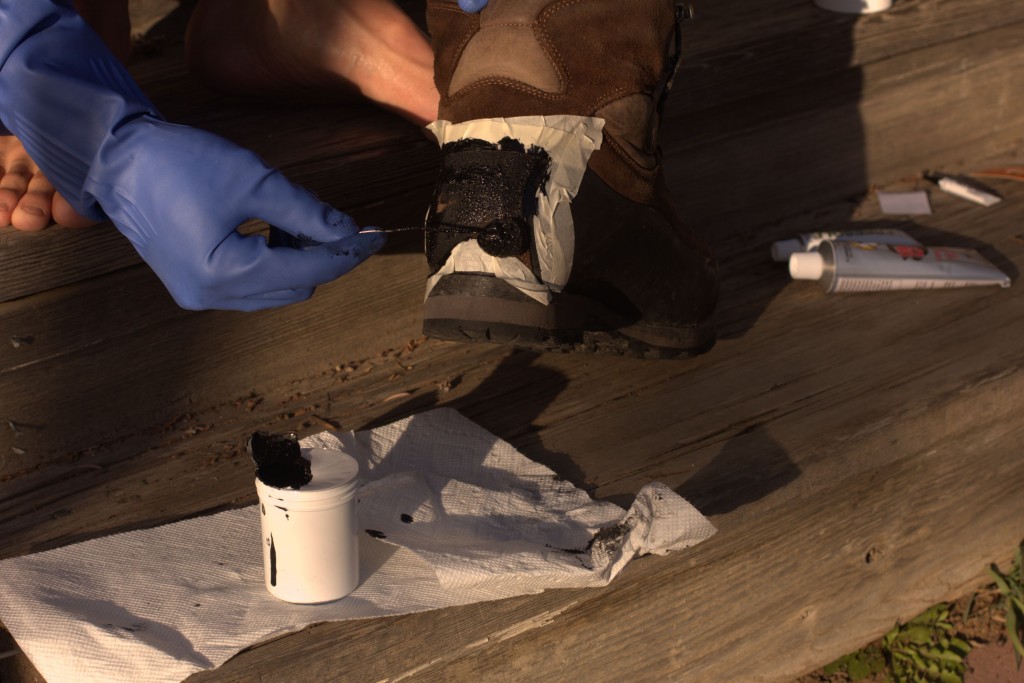
kg

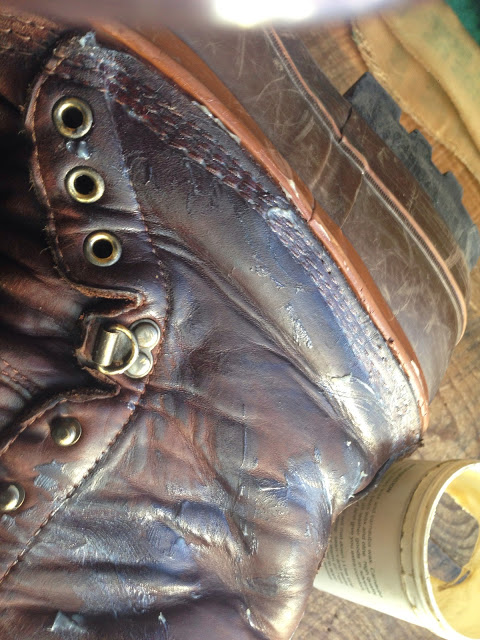
Kg’s product is RUNNY, with a consistency more like a liquid than a gel. I painted on too much and it ran into other parts and left a dark stain. Be extra CAREFUL when painting on this product!
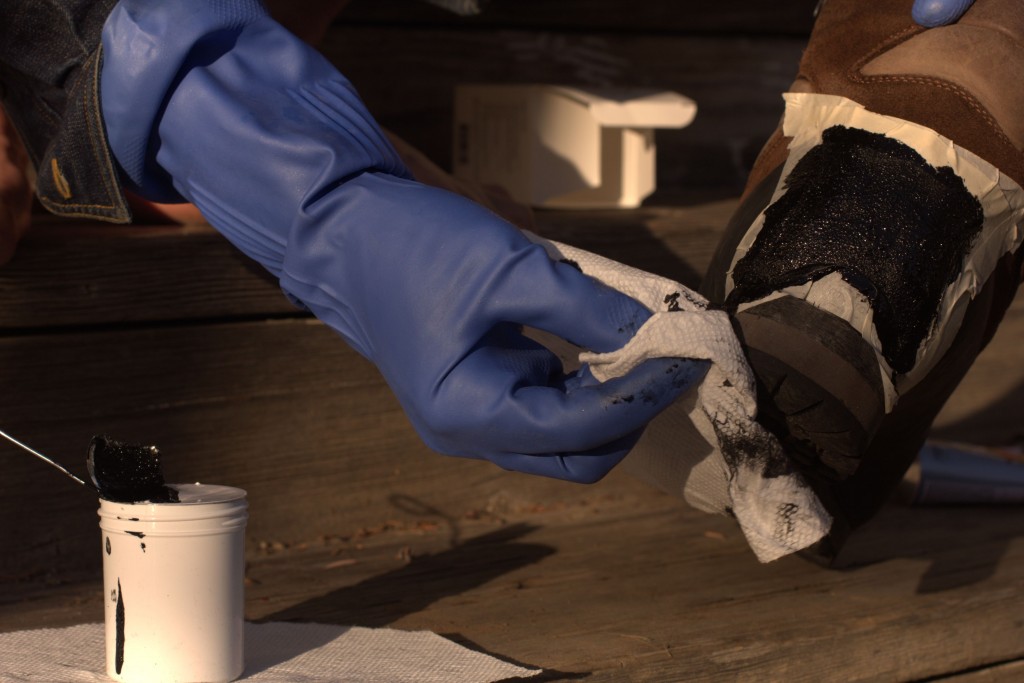
_MG_6459

Applying Freesole

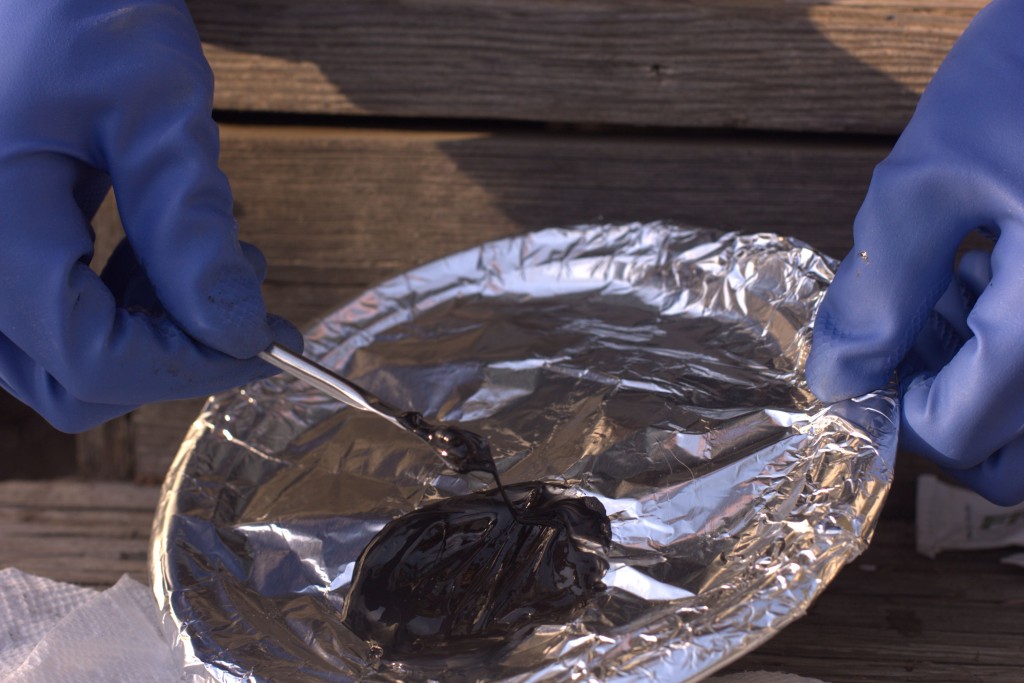
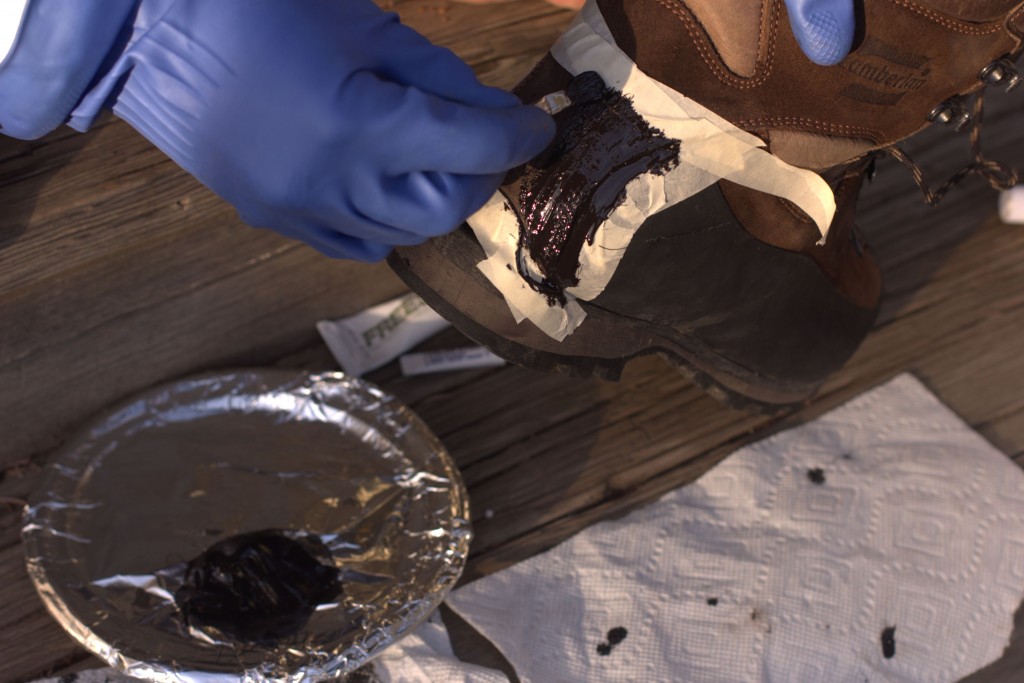
The Freesole is very pasty and gummy like Shoegoo. I added 8-10 drops of colorant in the separate tube and mixed them together to get it to turn black. Next I painted the area of my boot with the little paint brush that came with the product.
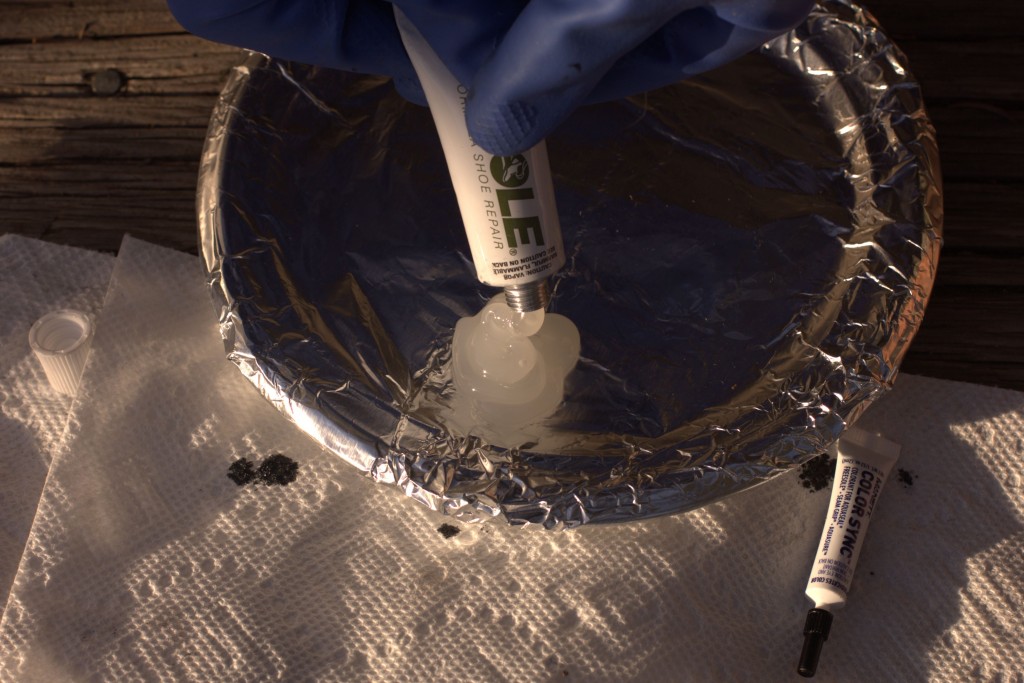
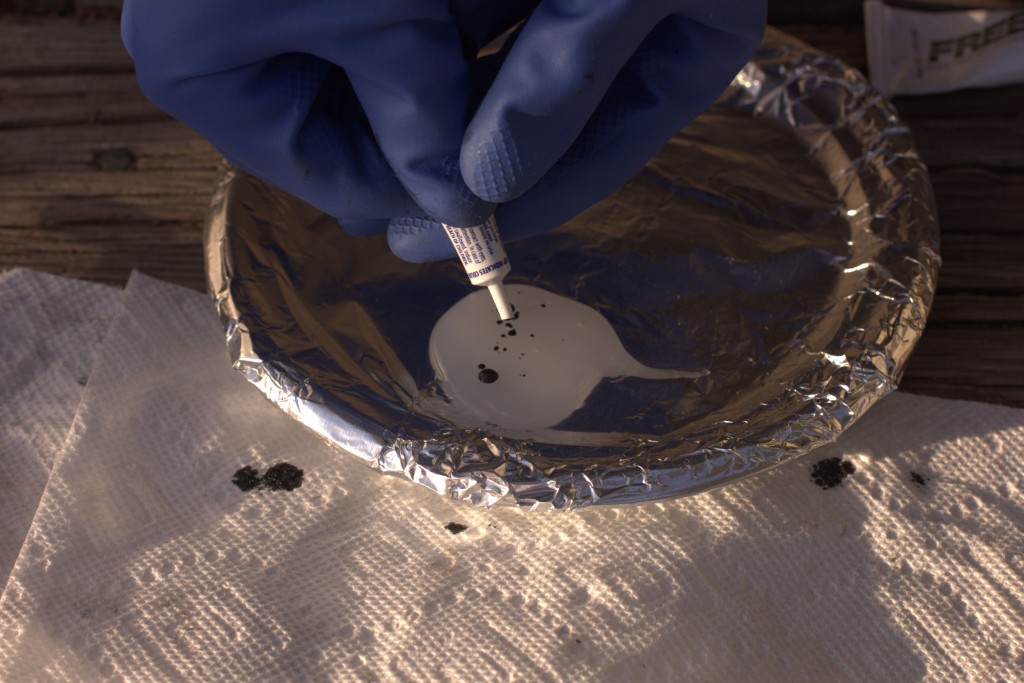
freesole1freesole2

_MG_6467_MG_6469

After 2 hours, I pulled the tape off and was pleased to find a clean, stenciled outline of the product.

Next, I left both boots to cure over night.

Results
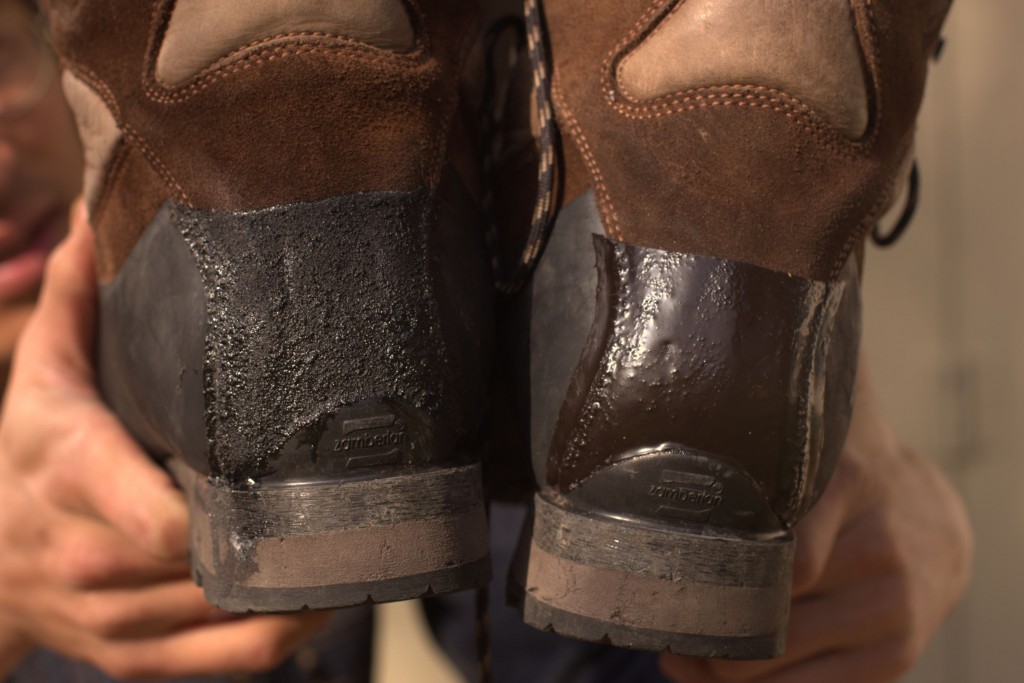
_MG_6478 _MG_6476

Kg’s Boot Guard (left), Freesole (Right)

Let’s see how these two products hold up to rigorous alpine climbing this spring and summer. I’ll keep you updated.

Hunting Boots: Kenetrek Northern Pacboots

September 30, 2014

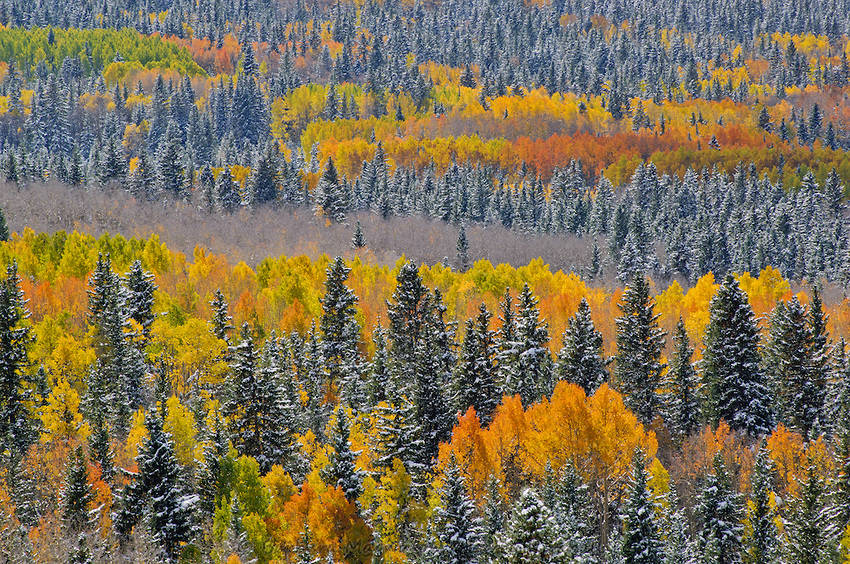
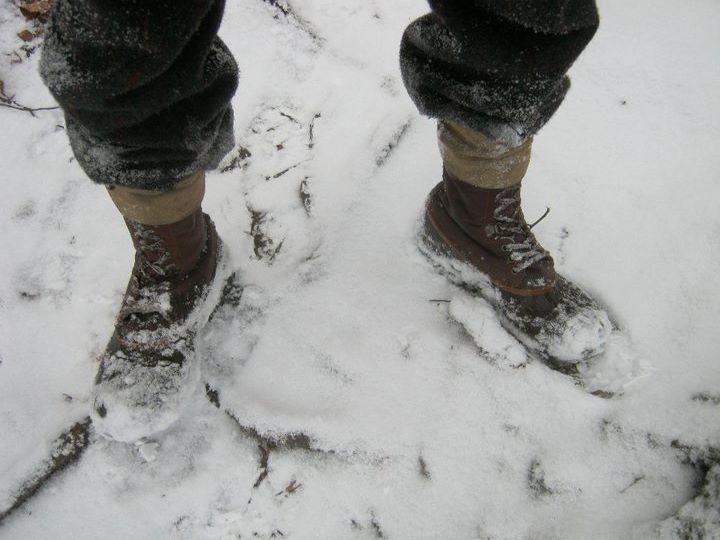
The high peaks of Colorado in mid October till mid November, will be cold, snowy and wet. As I write this, it has been thundering up in the Sawatch, switching for rain, to hail, to fat snow flakes then back to rain. By the second and third season of elk, from mid October till mid November hiking the high country will be harder and there will be snow on the ground that won’t melt away till June.

Autumn aspens & first snow

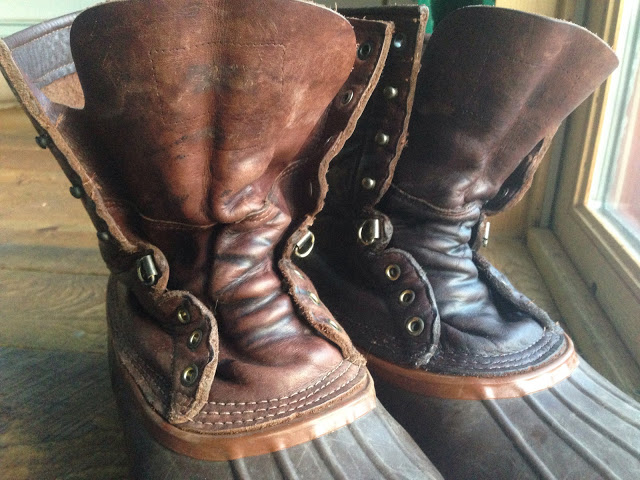
The pac boot design has been around for over a century, LLBean mentions their founder invented the half rain boot half leather boot in Maine. In WWII and Korea, GI’s used pacboots, or “shoepacs” in winter conditions to mixed success.

A double boot increases your comfort with its insulation you can be warm when you are resting and stopping for long periods, and at night when you sleep the liners can be removed and worn or placed inside the sleeping bag to dry them. There is no joy like putting on warm dry boots when it is gross outside.

I’ve had mixed success with Kenetrek pac boots. In the past I have had durability issues with this brand, but since this year they repaired my boot for free, I will give them another chance.

165361_1839753475211_3450667_n

168680_1839746715042_1330416_n

Note the repair patches on the sides.

The major design feature of pac boots is that they are waterproof on the bottom to muck through mud and slush. Yet the upper laces up and forms to your body like a leather boot.

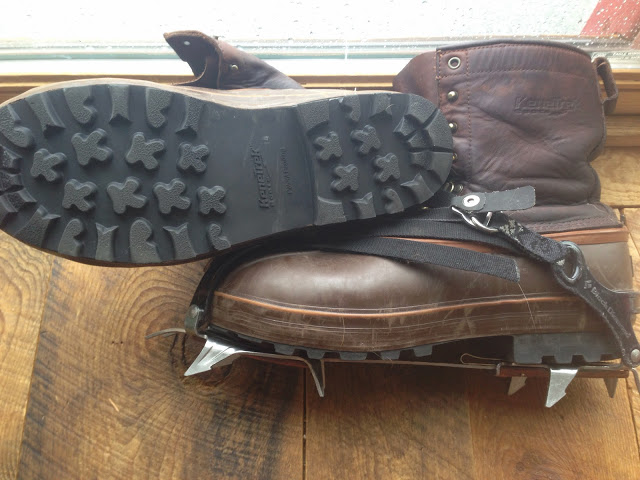
 The coolest thing about the Kenetrek version over Sorel’s and LLBean boots is they have a half inch steel shank in them like the Bean boot, but aggressive tread and thick liner like the Sorel. The best of both worlds. The shank keeps the boot sole rigid to the ball of the foot. While this shank does not allow for enough stiffness for mountaineering, they work for general purpose packing on rough terrain. The flexibility would not stop me from putting on a strap crampon on them if the snow was packed hard or icy and I needed traction and french technique.

180517_1839737874821_5290124_n (1) blogger-image--580831929


Waterproofing

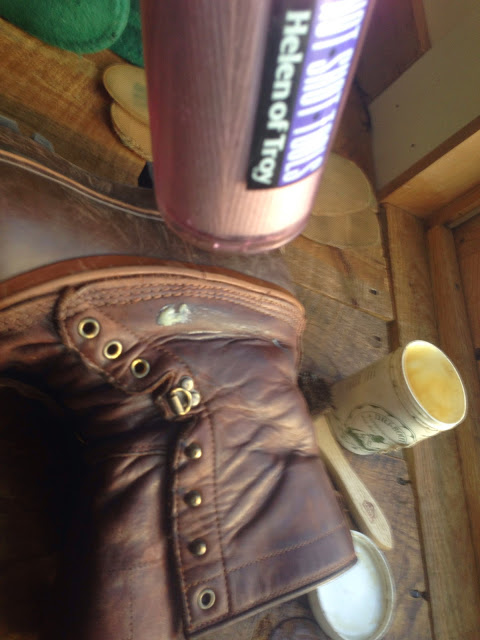
I love treating leather boots. Its a meditative process, and by winter it will be a weekly ritual. I feel connected to the item in a way that a aerosol spray can and goretex boot cant provide. It also smells like honey. If the boot is well constructed, coat of beeswax will keep out water for up to a week of hard use.

photo (6) 

blogger-image--837260235blogger-image-36889230

blogger-image-1486757614

I gotta get these things into the woods and put some scuffs on that nice polish.

-Don.

Read more of our favorites


Naked and Afraid:
A Prelude

Mapping Out New
Adventures in 2016

Climbing to New Career Goals

Hunger Games
 

Camp Blades- A CUT Above the Rest


All rights reserved © We Do It Outside · Theme by Blogmilk + Coded by Brandi Bernoskie